Context
Recently my primary workstation failed due to a motherboard issue. I needed to quickly get my development environment setup on another machine. Here are the steps I followed to clone my machine using rsync. Before moving on to that, Let me explain a little about rsync, In layman’s terms rsync is a utility for efficiently transferring and synchronizing files between a computer and an external disk, it does this by sending only the differences in the data to the destination rather than resending the whole file every time there is an update. This makes it very useful for mirroring or backing up data. My workstation is primarily Debian 11, and It has all my development environment setup including some old projects in Python 2, which is very little documented and hard to set up again. So Planned to clone my system using rsync to copy all data and setup to a new machine.
The Failed First Attempt
Even though my primary goal was to clone the system, I thought about cloning to an updated Debian 12 machine, Since the Debian 12 was released recently. So I took a fresh Debian 12 installation and tried cloning using rsync. The cloning was completed successfully, and I updated the system packages in the machine and tried a reboot. But after rebooting it failed to boot properly and got stuck in a loop 😭. After some debugging, I realized there were some missing or incompatible packages between Debian 11 and 12 which caused the boot failure. So I decided to clone it to another Debian 11 machine instead of upgrading to Debian 12.
The Successful Cloning
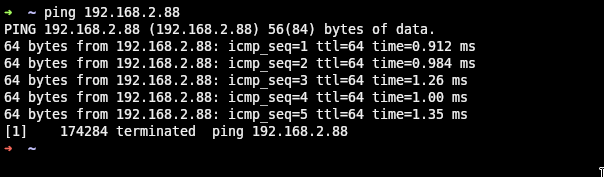
I took the machine and installed it with a fresh minimal Debian 11 installation. Which wastes less time in installation. And install only required software packages for the system to boot. Then I enabled root login in the SSH configuration. Then only it will be able to synchronize the files in the root partition of the primary machine with the target machine. Next, from the primary machine, I make sure that the target machine is reachable via the network using the ping command, I have connected both machines to the same local network and, I have used Ethernet ports for better speed.
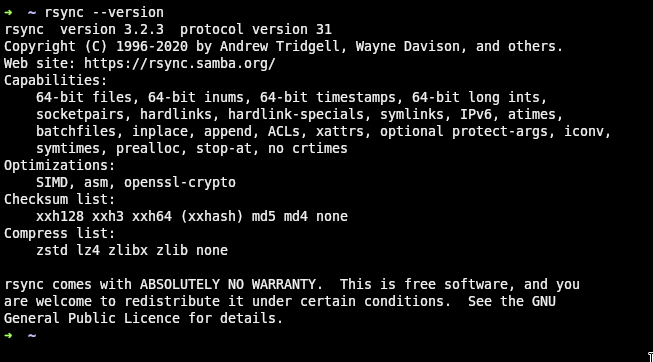
ping <target_machine_ip>And its sample output can be seen here. Next, I make sure that rsync with same version available in both systems, if not for the Debian system rsync can be installed with the command:
sudo apt install rsyncVersion of rsync can be checked like:
rsync --versionAnd its sample output can be seen here.
There are directories and files that I want to exclude from cloning because they are either already available in the destination server or are autogenerated. These include the /boot, /tmp, and /dev directories. Therefore, I created an exclusion file /root/exclude-files.txt and added the following entries:
/boot
/dev
/tmp
/sys
/proc
/backup
/etc/fstab
/etc/mtab
/etc/mdadm.conf
/etc/sysconfig/network*
Next, I ran the rsync command from the primary machine to clone all files and directories to the target machine, The command is
sudo rsync -vPa -e 'ssh -o StrictHostKeyChecking=no' --exclude-from=/root/exclude-files.txt / REMOTE-IP:/Let’s break down the above command to understand what’s happening under the hood.
sudo– It is a command that allows the execution of a command with administrative privileges.rsync– The rsync command itself, is used for file synchronization and transfer.-v- This option enables verbose output, providing detailed information about the progress of the synchronization.-P– This option is equivalent to –progress and enables partial file transfers and displays the progress of each file during the synchronization.-a– This option stands for “archive mode” and is a shorthand for preserving important file attributes such as permissions, ownership, timestamps, etc.-e– This option specifies the remote shell to use for the synchronization.-o StrictHostKeyChecking=no– Disables strict host key checking, which means that the SSH connection will not prompt for confirmation if the remote server’s host key is unknown.--exclude-from=/root/exclude-files.txt– This option allows you to specify a file that contains a list of patterns or paths to be excluded from the synchronization./– The forward slash represents the source directory or root directory that will be cloned.REMOTE-IP:/– Specifies the destination server’s IP address or hostname followed by a colon and forward slash. It indicates the remote directory where the cloned files will be copied.
The whole process took about an hour for me and after the successful completion, We need to restart the target machine, and then it will be an exact replica of the primary machine 😃.
What’s Next?
So next, I am planning to run a cron job with the rsync command that can do incremental cloning, which means only syncing the changed files in the host system to the target system, So that I can always have the files in the target system be latest. Also, it’s possible to do the process from the target machine too, So that I can use one machine in the office and other in the home. Both will always be synchronized, and no need to carry laptops anymore 😀. Hmm, Need to do a little research here. Let me try, test, and give you guys an update
Extras
Rsync command installation in different Linux distributions.
sudo apt install rsync        [On Debian, Ubuntu and Mint]
sudo yum install rsync        [On RHEL/CentOS/Fedora and Rocky/AlmaLinux]
sudo emerge -a sys-apps/rsync [On Gentoo Linux]
sudo apk add rsync            [On Alpine Linux]
sudo pacman -S rsync          [On Arch Linux]
sudo zypper install rsync     [On OpenSUSE]